Starting to set up a smart hub is the first step towards a smart home. It connects your lights, locks, thermostats, and cameras. This lets them work together seamlessly. Most hubs need an internet connection to access cloud services and control devices remotely.
First, power the hub and set up your network. Then, log in to your accounts and add devices. Choose your location and language in the hub’s settings. This ensures services and voice assistant language fit your needs.
Remember, different hubs offer different features. Check the user manual for specific details. Once you’ve set up the basics, you can start integrating devices and setting up accounts.
Understanding the Purpose of a Smart Hub

The smart hub is the heart of your smart home. It brings together lights, locks, thermostats, cameras, and speakers. This way, you can manage everything from one spot.
It’s like Samsung Smart Hub on a Smart TV. It shows all your apps, games, and web content in one place. This shows how a hub can connect different devices and services.
Your home automation setup relies on the hub. It runs automation rules, finds new devices, and lets you access things remotely. You can set up lights, start scenes, or get alerts without opening many apps.
Some features need the internet to work. This includes app downloads, cloud-based automation, and updates. Make sure you have internet during setup to avoid missing out on features.
Before buying a smart hub, check if it’s compatible with your devices. Make sure it supports the protocols your devices use, like Wi-Fi, Zigbee, Z-Wave, Bluetooth, and Thread. This ensures your setup works smoothly without any problems.
Types of Smart Hubs Available

When picking a smart hub, you have many options. You can choose from dedicated hubs like Samsung SmartThings Hub. Or go for voice assistant hubs like Amazon Echo and Google Nest Hub. There are also TV-based hubs in Samsung Smart TVs.
Dedicated hubs are great for local automation and keeping your data private. They work well with Zigbee and Z-Wave. Make sure your lights, locks, and sensors are compatible before you buy.
Voice assistant hubs focus on hands-free control and cloud services. A hub from Amazon or Google lets you control your home with voice commands. They’re perfect for integrating devices from many brands.
TV-based hubs offer media, apps, and smart home controls all in one. For example, Samsung Smart Hub links your TV and apps. It also lets you control compatible devices from your TV. This is great for those who want to manage their home and watch TV at the same time.
- Connect to the internet using Wi‑Fi.
- Connect to the internet using a wired network (Ethernet).
Choose a hub that fits your needs and device setup. If you want local control and privacy, go for a dedicated hub. For voice control and app support, pick a voice-controlled hub. If you want media and control in one, consider a TV-based hub.
Preparing Your Home Wi-Fi for Connection
First, do a quick network survey where you’ll put the smart hub. Check the signal strength and the network name and password. Also, look for any spots where the signal is weak.
Update your router’s software and restart it. Make sure your smart devices can connect to the 2.4 GHz band. Keep your network name simple and without special characters.
If you need a stable connection, use an Ethernet cable. Most hubs let you choose between Wi-Fi or Ethernet. Ethernet gives you a faster and more reliable connection.
Make your network secure with strong encryption like WPA2 or WPA3. Use a unique password to keep your smart devices safe from unauthorized access.
- Reserve an IP address for the hub via DHCP reservation to cut down on drops.
- Use a separate guest network for visitors to limit exposure to your smart devices.
- Document the SSID and passwords in a secure place for future reference.
Do these steps before you turn on the hub. It makes setting up your smart devices easier and less likely to have problems.
Unboxing and Initial Setup of Your Smart Hub
When you open the box, you’ll find the hub unit, a power adapter, and an Ethernet cable if needed. There’s also a quick-start guide and safety notices. Make sure everything is there before starting the installation.
Put the hub in a central spot with strong Wi-Fi and near a power outlet. Choose a location where you can see the status lights and easily connect any cables.
Turn on the hub and follow the on-screen instructions. You’ll be asked to pick your location and language. Picking the right region ensures the hub works well with your devices.
Next, you’ll create or sign into an account. For example, Samsung’s setup asks for network setup and account creation. You can use a QR code or enter your details on a mobile device.
Some systems might ask for payment information. You can skip this step if you don’t want to add payment details right away.
Refer to the quick-start guide for specific setup steps. If something doesn’t match your expectations, check the user manual for more information.
After the basic setup, test a device pairing or go through the hub’s guided tour. This ensures your home automation setup is working right. Keep the safety notices and manuals for future use.
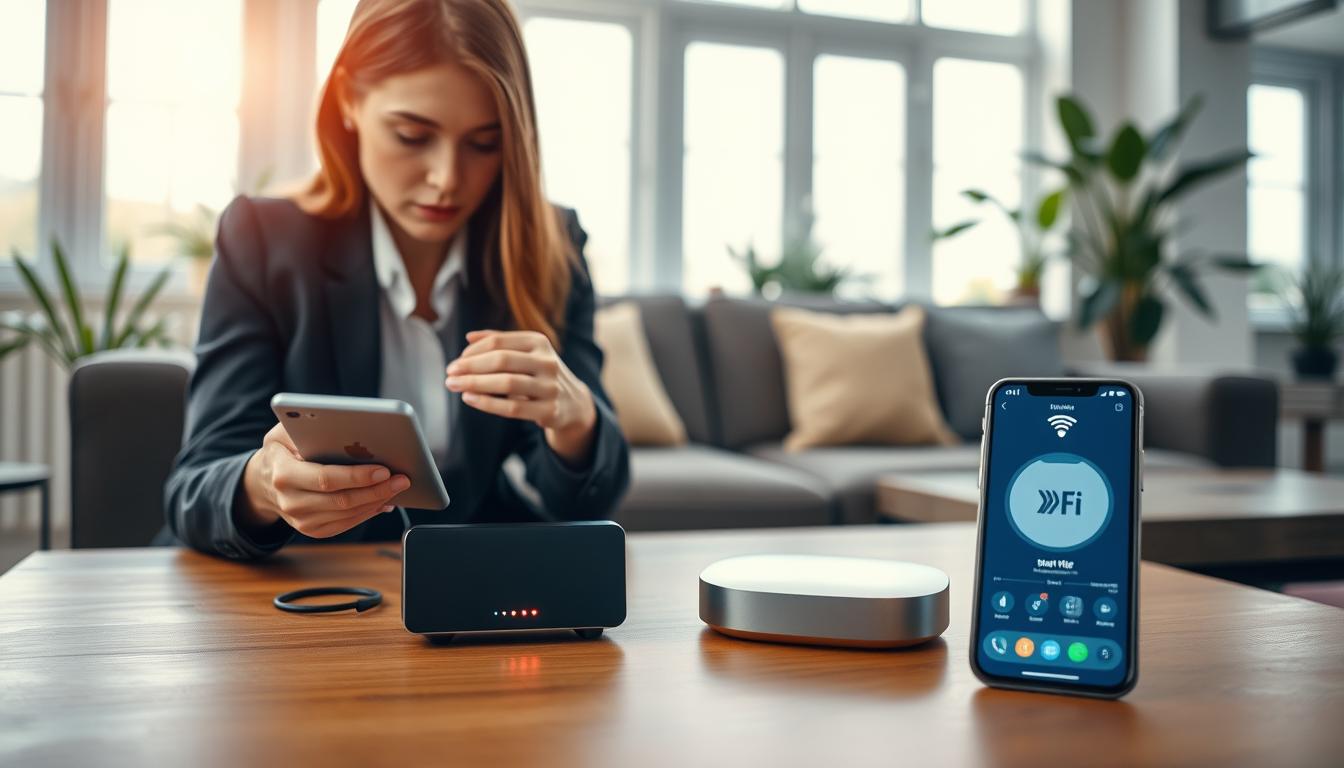
Connecting Your Smart Hub to Wi-Fi
Start by turning on the hub and your router. Wait for the hub’s light to show it’s ready. Then, open the hub’s menu or app and go to network settings.
Here’s how to connect:
- Choose your Wi‑Fi network from the list.
- Enter the network password carefully and confirm the entry.
- Allow the hub to complete authentication and show a connected status.
Some devices make it easier with QR codes. For example, Samsung devices let you scan a QR code with your phone. This transfers account details and network settings quickly.
If Wi-Fi doesn’t work, try Ethernet. Connect the hub to your router with a wired cable. This ensures a stable connection, which is good for devices needing steady bandwidth.
Internet access is key for using all hub features. Make sure the hub connects to the internet before adding devices. A connected hub lets you finish setting up your home automation and access cloud services.
Troubleshooting tips:
- Recheck the Wi‑Fi password for typos.
- Power‑cycle the router and the hub if connection stalls.
- Move the hub closer to the router for the initial smart hub configuration.
- Verify your router’s guest network restrictions or MAC filtering if the hub cannot join.
Follow this guide step by step to connect your smart hub to Wi-Fi. Then, you’re ready to integrate your devices.
Integrating Smart Devices with Your Hub
Begin by setting each device to pairing mode. Use the hub app or the on-screen interface to scan for new devices. You’ll see the device type, model, and signal strength. This helps you confirm it’s the right one before adding it.
Follow the app’s instructions to add the device and assign it to a room or group. Naming and labeling devices makes them easier to find. Create groups for lights, thermostats, or sensors to control them all at once.
Make sure your hub is compatible with the device before pairing. Check if the device uses Zigbee, Z-Wave, Bluetooth, Thread, or Wi-Fi. If the protocols don’t match, pairing won’t work and you’ll waste time.
Many modern hubs support multiple protocols, but there are limits. If your hub doesn’t support a device’s protocol, look for a USB dongle or bridge. This will help expand your hub’s capabilities during setup.
Use Samsung SmartThings as an example of what you might need. After setting up your network, you might need to sign in with a Samsung account. This unlocks full device control and firmware updates.
Label devices clearly in the hub interface. Assign room locations and names for voice commands and automations. Grouping similar devices makes scenes, routines, and voice control easier across brands.
Remember, some features need an internet connection. Cloud integrations and third-party services require online access for routines, remote control, and voice assistant linking. But, some hubs work offline, giving you control even without the internet.
After setting up, test each device for responsiveness and automation triggers. Check that protocols stay stable and new devices appear in your routines. A quick verification step after setup saves you from future troubleshooting.
Customizing Your Smart Hub Settings
You can make your smart hub fit your daily life and likes. Start by naming your devices and rooms clearly. This makes it easy to find them in the app and with voice commands. Use simple names like “Kitchen Light” or “Master Thermostat” to avoid mix-ups.
Set up rules and schedules to save time and energy. Create actions for sunrise, when you leave, or when motion is detected. Your app’s smart hub guide often has templates to help. Test each rule to make sure it works right.
Make scenes to control many devices with one command. For example, a “Movie Night” scene can dim lights, lower the thermostat, and turn on the TV. Group devices in scenes by room or activity for easier control.
Adjust your notification settings to get only important alerts. Limit notifications to security events, device faults, or automation failures. Choose silent notifications for routine updates to avoid distractions.
Check your privacy and data-sharing settings during setup. Pick your location and language wisely for voice assistants. Also, decide if you want to share usage data with manufacturers or keep it private.
- Registering payment methods is optional; you can add a credit card later for app purchases or subscription services.
- Enable two-factor authentication on your account to protect access to automations and personal data.
- Create backups or export automation configurations when your hub supports it to restore settings after resets.
Keep your regional settings up to date with your address. This ensures services, news, and weather work right. Also, confirm your language choice for accurate voice recognition and service behavior.
Follow a step-by-step guide for a checklist approach. Update your smart devices integration when you add new ones. This keeps your automations working well together.
After customizing, do a quick check of scenes, schedules, and account options. Regular checks make your setup more reliable. They also help you find new ways to improve your home automation.
Utilizing Voice Assistants with Your Smart Hub
First, pick the right voice assistant for your home. Amazon Alexa and Google Assistant are popular choices. Some hubs come with built-in assistants or vary by region. Make sure your hub’s settings match your preferred assistant.
Next, link your accounts for full control. Log in to your hub account and connect your third-party assistant accounts. Many devices offer quick QR code scans or mobile sign-ins, like Samsung’s QR methods.
- Check smart hub compatibility before linking devices.
- Confirm linked accounts appear in your hub app.
- Use device-specific prompts if pairing fails.
Test voice commands right away. Try turning lights on and off, adjusting the thermostat, and checking camera feeds. Create routines or custom phrases for multi-step actions to make your home automation easier.
Adjust your smart hub settings for better responses. Set your preferred devices, assign rooms, and choose wake words. Small tweaks can make a big difference in how well your hub works.
Check your privacy settings before using your smart hub a lot. Look at microphone permissions, data retention, and voice history options. You can turn off voice history or limit storage to keep your info safe.
Practice and improve your routines. Start with simple commands and add timed or conditional triggers later. Use a clear naming scheme for devices to help your voice-controlled smart hub work better.
Exploring Smart Hub Applications
Many smart hubs have an app store or marketplace. Here, you can download apps, skills, and device drivers. For example, Samsung Smart Hub lets you download apps, play games, and browse the internet when your TV is online.
To use the marketplace, you need an internet connection. A connected device gives full access to smart hub applications and streaming services during installation and updates.
When setting up your smart hub, review app permissions carefully. Only install apps from trusted vendors to keep your network and personal data safe.
Explore manufacturer skills and third-party integrations to expand automation. Look for SmartThings, Alexa Skills, Google Actions, or IFTTT options. These enable broader smart devices integration across lights, locks, and sensors.
- Check compatibility before installation to avoid conflicts.
- Use vendor apps for firmware updates and official drivers.
- Limit permissions for apps that request unnecessary access.
Proper smart hub installation and a careful setup guide help you get the most from apps and integrations. You gain reliable automation, smoother streaming, and safer smart devices integration when you choose apps wisely and keep your hub online.
Keeping Your Smart Hub Updated
Regular updates keep your smart home safe and efficient. Make sure to follow the smart hub setup guide during the first setup. This way, the hub can check for the latest updates while connected to the internet.
Enable automatic updates if your smart hub allows it. If not, open the app or settings on the hub screen to check for updates monthly.
- Reboot the hub now and then to clear memory and apply updates.
- Put the hub in a well-ventilated area to avoid overheating.
- Keep your account details up to date for smooth updates.
Some updates bring new features and better device compatibility. Keeping your smart hub updated lowers security risks and makes pairing new devices easier.
Don’t forget about battery-powered accessories. Follow the advice from brands like Philips Hue, Ring, and Yale for battery care and warranty.
- Check battery health monthly and replace as needed.
- Register warranties with manufacturers for support access.
- Recycle batteries and old parts through official programs.
By keeping your smart hub updated and well-maintained, it stays current and strong. Following the smart hub setup guide and regular maintenance makes your smart home more dependable over time.
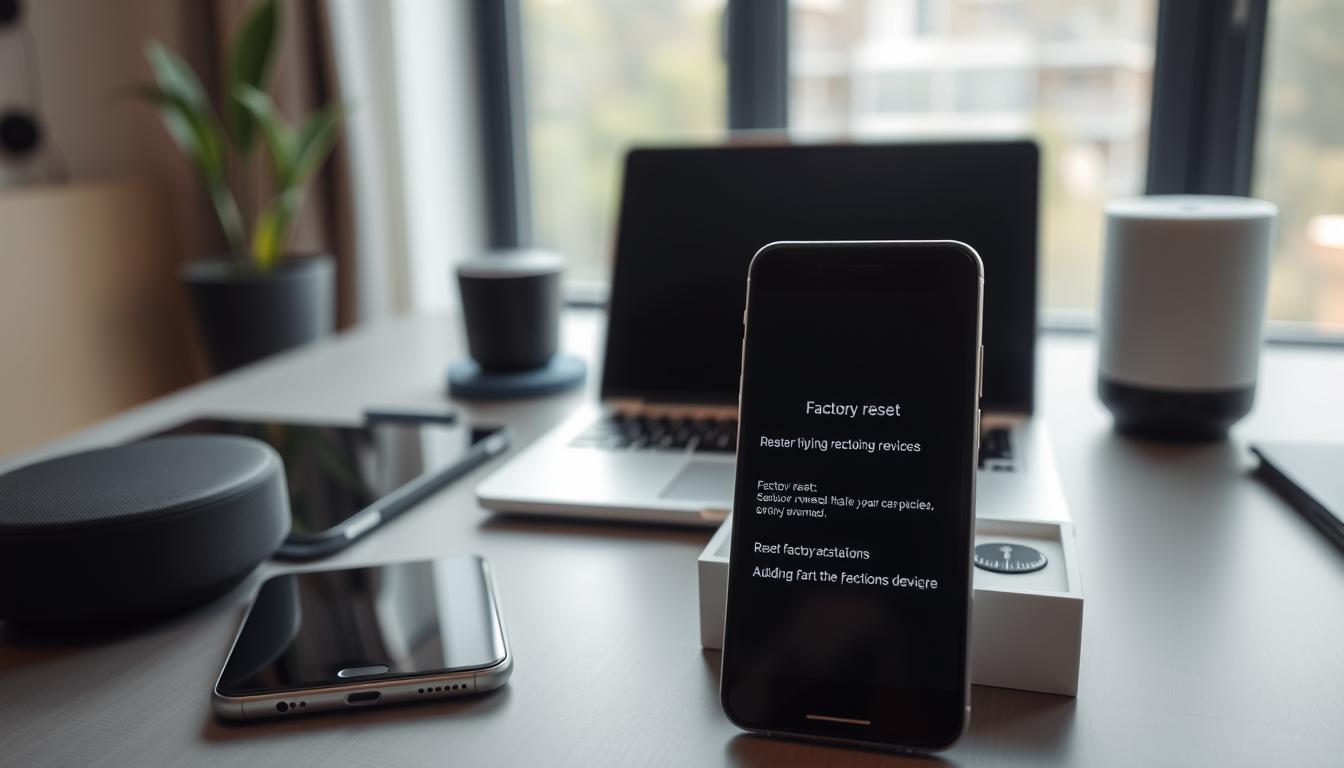
Troubleshooting Common Smart Hub Issues
Start with the basics when you face problems with your smart hub. Make sure the hub is in the right place and set to the correct language. Also, check if it’s connected to the right Wi‑Fi network or Ethernet.
If Wi‑Fi is not stable, try using Ethernet for a wired connection. This can help avoid wireless problems.
Having trouble logging in? Try mobile sign‑in or a QR code if you can. For example, Samsung devices offer these options. If you missed setting up an account, you can do it later from the hub’s home screen.
Check your user manual for app and feature availability. Some features might not work on all models. For battery-powered accessories, follow the manufacturer’s instructions and warranty procedures.
Keep your purchase receipt for any warranty claims. If you need help, contact regional support. But remember, damage, water, unauthorized repairs, or using it outside your service area can void warranties.
For the last step, restart your router and hub. Reserve an IP address for the hub on your router. Also, check for firmware updates. If problems continue, reach out to the manufacturer with your model and purchase information. These steps should help you resolve most issues and complete your smart hub setup or configuration.