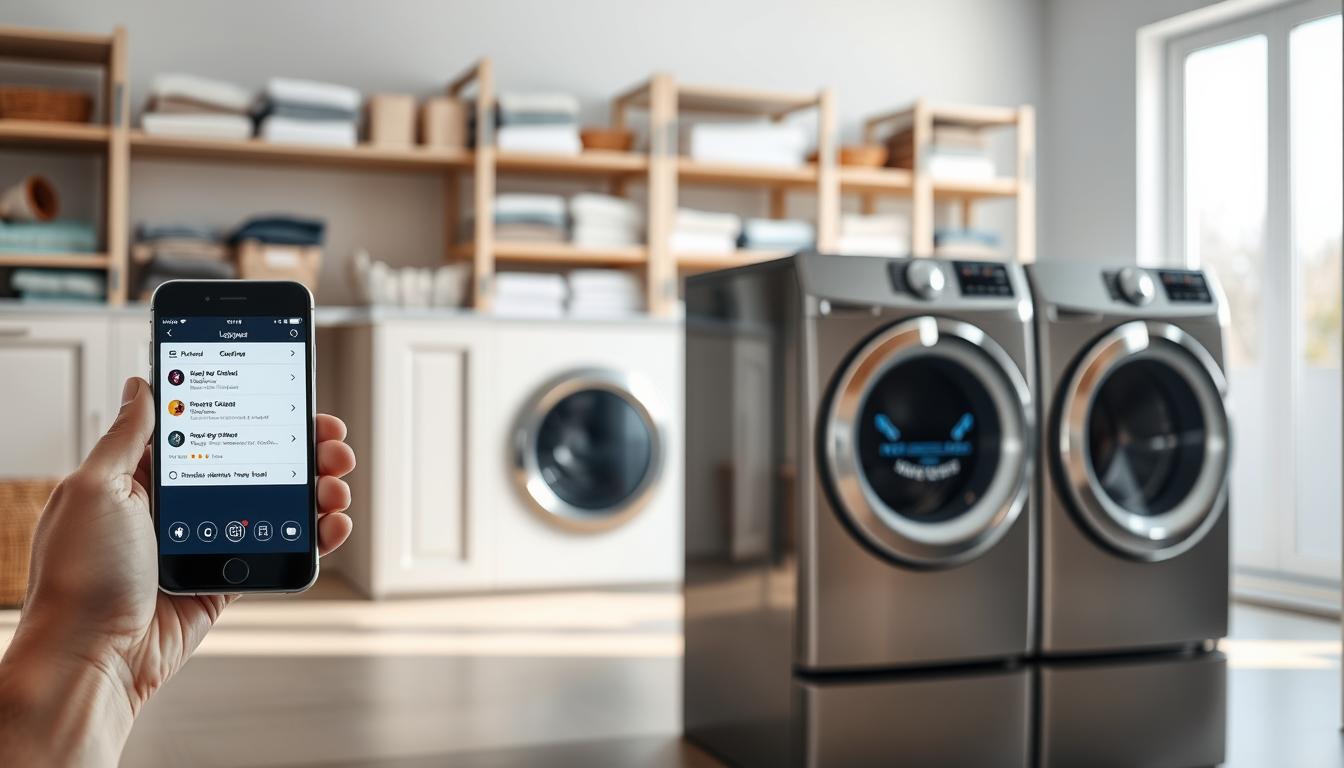
Grouping smart lights means combining several smart bulbs, switches, or outlets into one. This way, you can control them all with one command from an app, dashboard, or voice assistant. It makes controlling your lights faster and easier.
You can group bulbs like Philips Hue and C by GE/CYNC, smart switches and plugs such as Lutron Caséta, TP-Link Kasa, and WeMo, or even microcontroller projects using ESP8266/WLED and ESP32. Many setups use hub-based systems like the Philips Hue Bridge or Google Home to connect smart lights into a cohesive system.
Practical setups often mix different types of devices. For example, you can combine lights and switches into one group with Home Assistant helpers (group helper, “switch as a” helper, or an older YAML group). Google Home rooms and routines let a single voice command toggle multiple devices, too. A smart light grouping app or your voice assistant makes this seamless.
In this article, you’ll learn how to connect smart lights and use grouping, apps, voice assistants, and automation tools. This way, you can control multiple lights at once with a single command. It saves time and keeps your home lighting consistent and convenient.
Understanding the Basics of Smart Lighting

Smart lighting includes many devices you’ll find when shopping or planning an install. Smart bulbs like Philips Hue and C by GE connect via Wi‑Fi, Zigbee, or Bluetooth. Smart switches and plugs from Lutron Caséta, TP-Link Kasa, and WeMo control power to fixtures or outlets. Smart controllers and LED drivers are used for complex strips and custom installs.
When setting up a system, you need to understand how platforms show devices. In Home Assistant, devices are listed under domains like light.living_room or switch.table_lamp. The domain you use affects how you create groups, automations, and helpers for smart light control. Make sure to use the right domain to avoid scene errors.
Hubs and bridges are important for many systems. Philips Hue needs a Hue Bridge for full features and local control. Some Made for Google bulbs, like C by GE and CYNC, can connect directly in Google Home without a bridge. Other bulbs that say Works with Google Home might need the maker’s app and a bridge for advanced options.
Software control surfaces offer different ways to interact. You can use the Google Home app, the Home Assistant dashboard, vendor apps like Kasa and WeMo, or open‑source UIs such as WLED for ESP8266 strips. Each interface changes how you run scenes, voice routines, and manual smart light control.
Good naming and room assignment practices save time and reduce errors. Choose contextual, unique nicknames that don’t repeat room names or numbers. Clear names help voice assistants understand requests and make grouping devices easier when connecting smart lights across platforms.
- Smart bulbs: plug‑and‑play, multiple radio standards
- Smart switches/plugs: control existing fixtures and outlets
- Controllers and bridges: required for some advanced features
- Software: vendor apps, Google Home, Home Assistant, WLED
Types of Smart Lighting Systems

When setting up your smart lighting, you’ll find different types. Each has its own way of connecting and controlling lights.
-
Cloud-based Wi‑Fi devices — Brands like TP-Link Kasa and Belkin WeMo use apps for setup. You register devices in their apps and then link to Google Home or Amazon Alexa for voice commands. These are easy to start with but depend on the cloud for many features.
-
Zigbee and Z‑Wave hub systems — Philips Hue paired with a Hue Bridge is a common example. The bridge connects to your router by Ethernet and creates a reliable mesh network. This supports many bulbs and offers stable smart light control and better range for larger installations.
-
Made for Google bulbs — Bulbs certified for Google Home, such as C by GE and CYNC models, let you set up and manage lights directly in Google Home. You can connect smart lights without adding a separate bridge. This simplifies basic grouping and voice control.
-
DIY and microcontroller solutions — Hobbyist options using ESP8266 with WLED or ESP32 projects can expose lights to Home Assistant as switch or light entities. You gain deep customization and local smart light control. But, you need technical know-how to maintain them.
-
Hybrid and advanced hub platforms — Hubs like Hubitat integrate multiple ecosystems and enable local automations. These platforms help you connect smart lights from different brands. They keep automations fast and private.
Remember, device behavior and registration matter. Dimmer bulbs often register as light.xxx and on/off plugs show up as switch.xxx. This can affect how grouping works in some apps.
Also, consider wiring and physical limits. In-wall Wi-Fi switches from WeMo may need a long press to trigger multi-device actions. They also require proper line wiring. Choose products that match your home’s wiring and your goals for smart light control.
Setting Up Your Smart Light System
First, focus on power and placement. Install smart bulbs, plugs, or switches. Make sure wall switches are in the ON position if bulbs need constant power. Test each fixture to ensure they light up before moving to network setup.
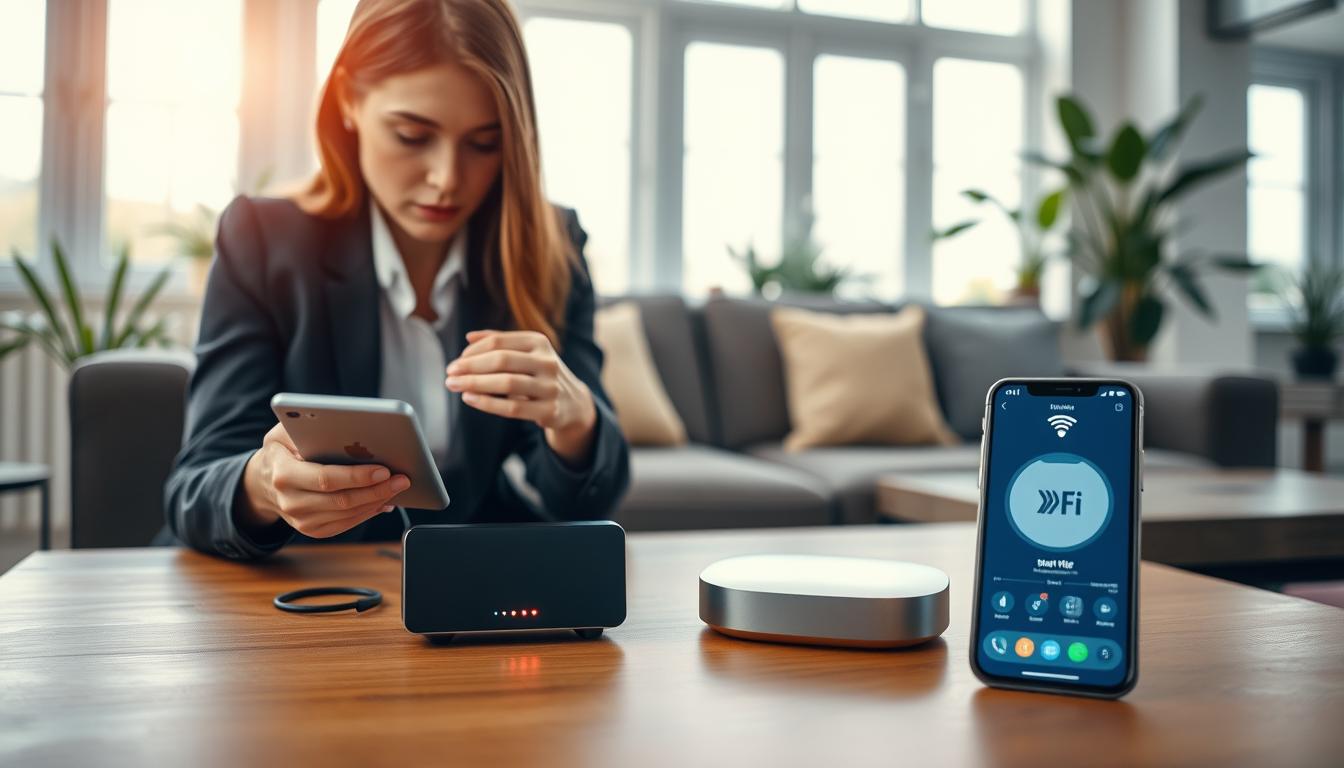
Next, prepare your network and accounts. Connect smart devices to the same Wi‑Fi or pair them with a hub or bridge. Sign in to apps like Kasa, WeMo, or C by GE on your phone. Ensure your speaker or display and mobile device are on the same network for easy smart light control.
- For Google Home: use Add Device → Search for device, or link manufacturer apps when a bridge is required.
- Made for Google bulbs can set up entirely in Google Home; Works with Google Home bulbs often need the maker’s app first, then link in Google Home.
Follow specific steps for each device. With Philips Hue, plug and power the Hue Bridge, connect it to your router, and ensure lights show on top of the bridge during pairing. If pairing fails, say “Hey Google, sync all devices” to refresh connections.
C by GE bulbs sometimes need a factory reset. Remove them from the C by GE app or use the manufacturer reset sequence. Remember, C by GE speakers and displays allow up to six bulbs each.
If you use ESP8266 or WLED setups, integrate them into Home Assistant by exposing entities. Confirm the entity types, such as switch.xxxx or light.xxxx, so grouping and smart lighting solutions work reliably.
- Name devices with clear, contextual labels. Avoid generic nicknames that only repeat the room name.
- Assign bulbs to rooms inside apps to enable multi-light voice commands and automations.
- Test controls for each grouping to confirm smart light control responds as expected.
These steps help you connect smart lights and build smart lighting solutions that scale. Small, consistent naming and proper network setup save time when you create scenes or voice routines later.
Grouping Smart Lights: Why It Matters
Grouping smart lights makes controlling them easier. You can use a single button or voice command to turn on several lights at once. This saves time and makes setting up scenes for different activities simple.
It’s common to mix different brands and types of lights in one room. For example, you might have Lutron Caséta switches, a WLED strip, and smart plugs. Grouping lets you control all these devices together, even if they’re from different brands.
Grouping makes your smart home easier to use. It keeps your app clean and simple. Your family will enjoy using scenes and presets without worrying about which device is being controlled.
- Consistent control across vendors
- Faster interaction in the smart light grouping app
- Clearer room scenes and fewer app screens
Automation and scheduling get easier with groups. Instead of listing every device, you can target a whole room. This makes setting up rules simpler and reduces mistakes when you update your setup.
Setting up groups can have small challenges. Home Assistant users might need to create special groups or use YAML. Some devices might show up as lights, while others are switches. Tools can help fix these issues so your groups work as expected.
Voice assistants can help, but they have their limits. Google Home groups devices by room, making commands like “Turn on the lights” work for all in a room. But, some devices need special actions, like long presses, for multi-device functions. Knowing these details helps manage your expectations when using voice control.
When setting up groups, start with room names and test your routines. This approach makes setup faster and keeps your automation rules organized as your system grows.
How to Group Your Smart Lights
First, think about how you want your rooms and scenes to work. Grouping smart lights by room makes voice commands easier. It also ensures consistent smart light control across all fixtures.
For Home Assistant, start with the UI helper for a quick setup. Go to Devices → Helpers → Create Helper. Choose Group, select light or switch, add entities, and name the group. This new entity will show up in dashboard cards and automations.
If some devices have mixed domains, use the “switch as a” helper. This makes switches look like lights. You can also create a YAML group if the UI helper doesn’t fit your setup.
- Example YAML snippet that works:
- group:
- living_room:
- name: “Living Room Light Group”
- entities:
- – light.bridge_spots
- – switch.living_room_lamps_2_plug_socket_1
- – switch.living_room_lamps_2_plug_socket_1_2
- – switch.wp2_bk_n_socket_1
- – switch.wp2_bk_n_socket_2
- group:
- Restart Home Assistant and add the new group entity to your dashboard for unified smart light control.
In Google Home, use Rooms to group devices. Adding bulbs to a room creates a room-level Lights tile. You can control all devices in a room with one voice command, like “Turn on lights”.
For Made for Google bulbs like C by GE and CYNC, set them up in Google Home. Devices that “work with Google Home” need to be set up in their apps first. Then, link them to Google Home for room grouping to work well.
Vendor apps offer detailed options. In Philips Hue, create rooms and scenes in the Hue app and sync them with Google Home. Hue scenes can be activated with voice or schedule. Belkin WeMo and TP-Link Kasa let you group plugs or outlets in their apps. Then, assign them to rooms in Google Home for central control.
If you prefer physical control, use RF wall switches from brands like Westek paired to plugs. These remotes let you control multiple devices without Wi‑Fi. This is handy for basic local grouping smart light control.
For missing devices, check entity domains and if a device needs a bridge. ESP8266/ESP32 gadgets often expose switches. Make sure entity names and domains are consistent. If a Home Assistant group name is greyed out, delete and recreate it or move the configuration into YAML for full control.
Use a smart light grouping app only when vendor or platform tools don’t meet your needs. These apps can simplify bulk edits and offer cross-brand grouping where native apps do not. Test each group after creation to ensure automations and voice commands work as expected.
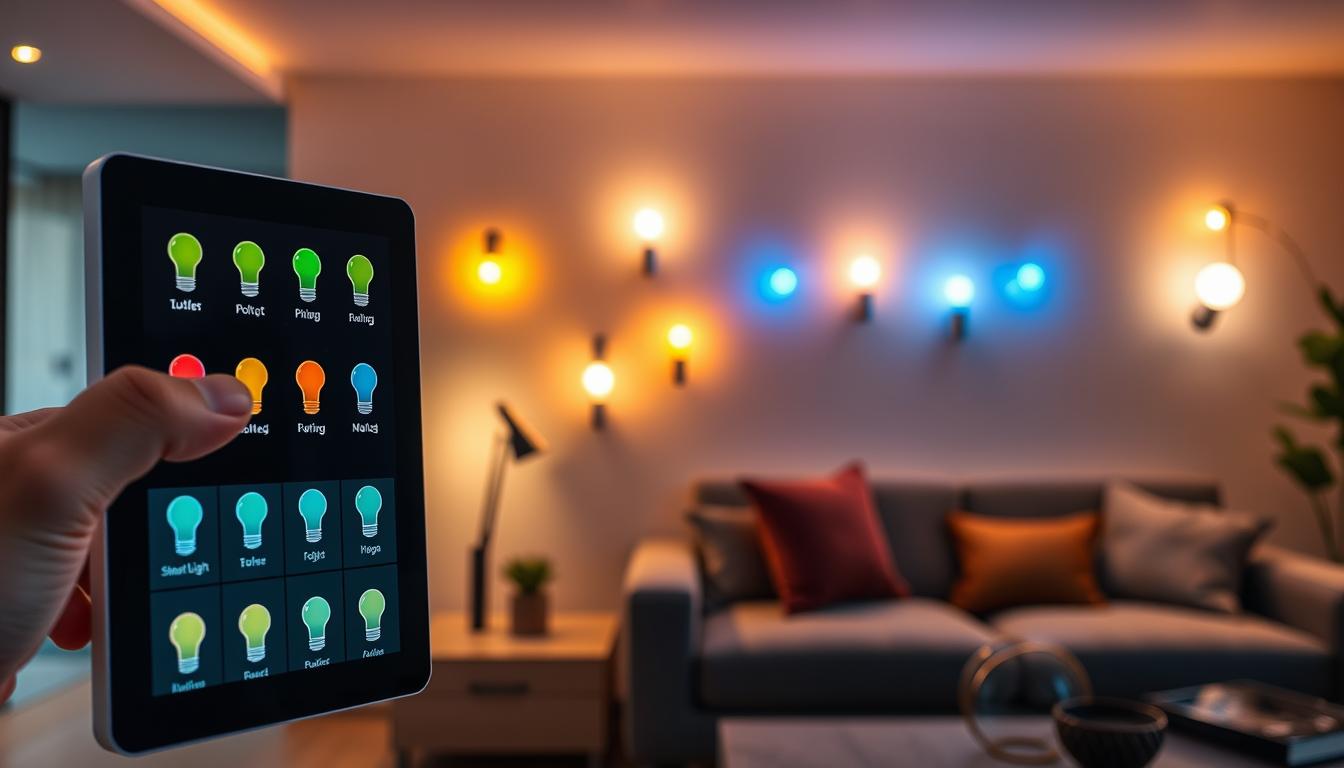
Controlling Grouped Lights with Voice Commands
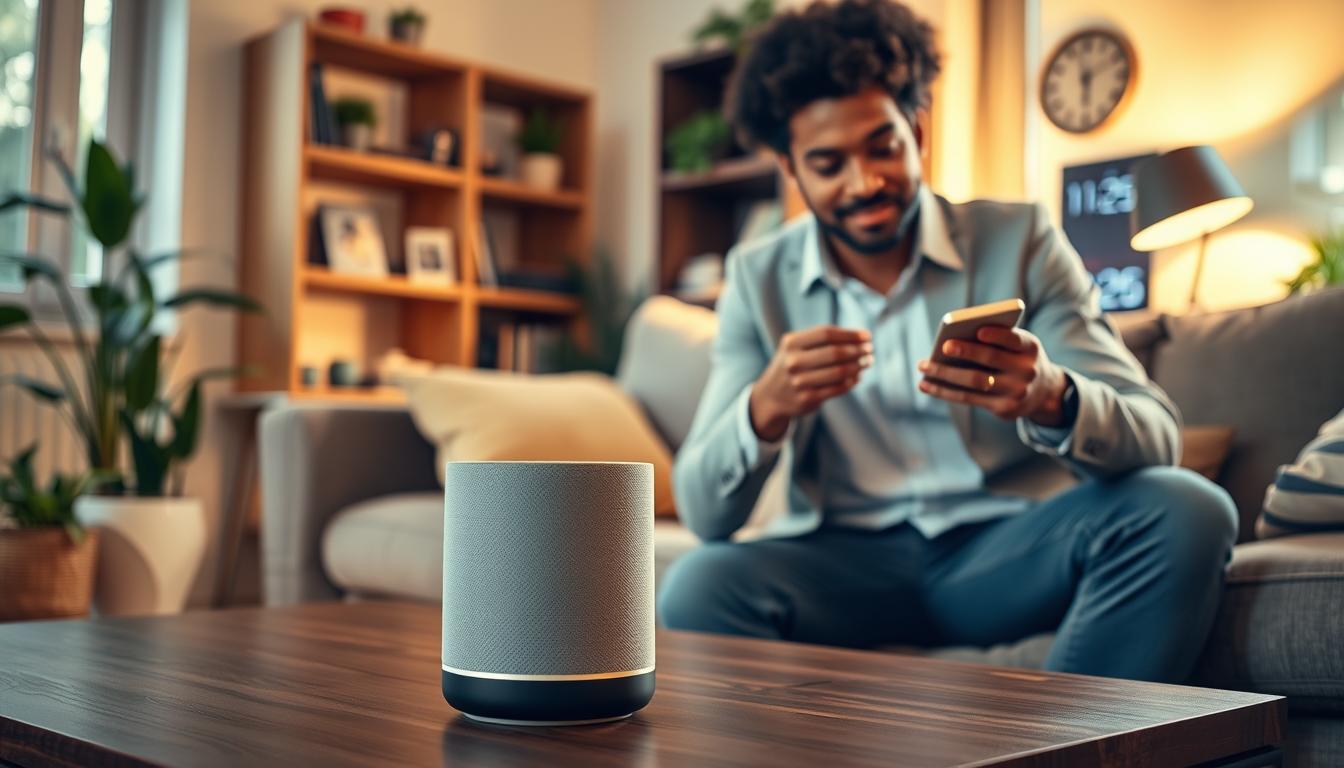
You can manage grouped lighting with voice assistants. Google Assistant and Gemini for Home respond to commands like “Turn on lights in the living room.” You can also say “Set kitchen lights to 50%” or “Turn bedroom lamp green.” Alexa works the same way after you group devices together.
Grouping smart lights makes controlling rooms easier. Google Home assigns bulbs to rooms, creating a Lights tile. This lets you say “Turn on the lights” to control all bulbs in a room. Use a smart light app or Google Home to name these groups.
Choose simple, clear names for your bulbs. Avoid numbers and special characters. Short, natural names help the assistant understand your commands better.
Integrations affect how you control color, temperature, and scenes. Philips Hue lets you say “Set living room to Movie” to activate scenes. C by GE (CYNC) bulbs work with Google Home and accept color temperature commands like “Set bedside to 2700K.” A smart light app can help manage many bulbs across bridges or hubs.
If a voice assistant can’t find a device, try these fixes:
- Move the smart speaker or display closer to the bulb, ideally within 15 feet.
- Confirm all devices share the same Wi‑Fi network and check the bridge or hub connection.
- Reboot the speaker, bridge, or bulb. Factory reset a problematic bulb as a last resort.
- Give each device a unique, simple name and remove special characters.
Grouping with voice control saves time and effort. A smart light app can make creating groups easier. It also lets you test voice commands and keeps your setup organized as you add more devices.
Scheduling and Automation
Automations help you create routines that fit your daily life. You can set lights to turn on at sunset, react to motion, or with voice commands from Google Assistant or Amazon Alexa.
Grouping smart lights makes setting routines easier. Instead of picking each bulb, you can choose a group like “Living Room Light Group.” This way, you can control the whole room with one button or command.
In the Google Home app, tap Add then Automation to set up routines. Choose triggers like time, sunrise, or sunset, or device events. Then, pick a room or a grouped device for easy control without repeating steps for each lamp.
Home Assistant offers advanced automations for users. Use a YAML group or a helper entity as the action target. This is great for grouping devices across domains, like lights, switches, and plugs.
- Create a “Good Night” automation that turns off grouped room lights at a set time.
- Make a motion-triggered routine that lights a grouped hallway for a fixed duration.
- Use a scene in Philips Hue to ensure consistent color and brightness across grouped devices.
Remember device capabilities when grouping smart lights. Mixing color and white-only bulbs requires tailored automations or scene presets for predictable behavior.
Always test automations after setting them up. Check that brightness, color, and delays are as expected. Small adjustments can prevent surprises when schedules or sensors trigger grouped lights.
Troubleshooting Grouped Smart Lights
If a device doesn’t show up in your group, check the entity domain in Home Assistant. Light entities are labeled as light.xxx, while switches are switch.xxx. Use a “switch as a” helper or recreate the group via YAML if domains don’t match. Some dimmers might not join switch-type groups, so change the group type to match the device.
When a group name is greyed out or can’t be edited, try recreating the group or edit YAML and restart Home Assistant. Restarting clears cached states and often fixes smart light control issues. Small changes and a restart can revive a group.
If voice assistants can’t find bulbs, make sure all devices and the speaker or display are on the same Wi‑Fi network. Sign in with the same Google account on all devices. Ask the assistant to sync devices with a voice command or use the sync option in the app. If signal strength is weak, move bulbs closer to the speaker. Reboot the speaker or force-close the Google Home app to refresh discovery.
When bulbs are unresponsive, first check the outlet or wall switch power. Toggle power to let the bulb reconnect; some bulbs need up to a minute. Try the bulb in another socket. If problems continue, perform a factory reset following the manufacturer’s instructions. C by GE bulbs have specific reset sequences, so follow the model guidance.
Too many bulbs assigned to one speaker or display can break group control. Some setups limit bulbs per speaker; for example, certain brands cap the number of bulbs linked to a single device. Split large groups into multiple rooms or hubs to keep smart light control reliable.
Philips Hue bridge pairing issues usually stem from the bridge or router connection. Confirm the Hue Bridge is powered and Ethernet-connected to the router. All top LEDs on the bridge should be lit. Ensure the bridge and your speaker/display are on the same network, then restart devices and ask your voice assistant to sync devices again.
- WeMo tips: Be aware some WeMo switches use long-press behavior to control multiple devices. That behavior can limit single-tap group actions.
- ESP8266/WLED and custom controllers: Verify which entities Home Assistant exposes. Keep naming consistent and match domains so your groups behave predictably.
When connecting smart lights across hubs, confirm each hub’s network settings and device limits. Properly configured topology helps connect smart lights without gaps. Test groups after changes to ensure smooth operation.
Integrating Smart Lighting with Other Devices
You can connect your lights with Google Home and Amazon Alexa. This lets you run room routines and simple commands with your voice. Grouping devices by room means one phrase can control everything. This is super handy when your hands are full.
Hubs like the Philips Hue Bridge or Hubitat help manage scenes and timings. They make sure bulbs, sensors, and switches work together, no matter the brand. Using a local hub reduces delays and lessens cloud reliance.
- Motion sensors turn on living room lights when you enter.
- Door sensors turn on hallway lights at night.
- Environmental sensors adjust brightness with daylight.
Adding non-Wi‑Fi options like RF wall switches or smart outlets keeps control local. This is great for those who value privacy and don’t want constant cloud traffic. It ensures reliable smart light control.
DIY fans use ESP8266 or ESP32 boards with WLED and Home Assistant. These projects can join commercial bulbs, making smart lighting affordable and flexible.
Here are tips for stable integration:
- Keep devices on one local network to avoid routing issues.
- Limit bridges to avoid conflicts between ecosystems.
- Use local automations on a hub for faster, predictable control.
Set up Google Home rooms for voice commands to affect all devices. Add a hub like Hubitat to link Google Home, Alexa, and sensors. This gives you dependable control and more creative options.
The Future of Smart Lighting Technology
Soon, setting up smart lighting will be faster and easier. Matter adoption and native integrations from big names like Google, Amazon, and Apple will make pairing devices reliable.
Grouping smart lights will become a must-have feature. You’ll be able to combine Philips Hue, LIFX, commercial LEDs, and DIY ESP32 controllers into groups. These groups will work the same way across different platforms.
Voice assistants will get better at understanding your context. Gemini for Home and other AI assistants will suggest scenes and adjust lights based on your activities. This will make using smart lights more natural and less of a hassle.
Local processing will also get a boost. Hubitat and Home Assistant will handle more automations on your local network. This will give you faster response times and better privacy if you don’t want to rely on the cloud.
- Greater interoperability means you can create groups in any app and expect consistent behavior across devices.
- Stronger mesh networks and higher device limits per hub will allow larger, stable groups without lag.
- RF and wireless physical controls will pair with hubs for resilient, low-latency control.
This means fewer compatibility issues for practical users. You can use one command to dim lights, run scenes across brands, or let routines change lighting based on motion, time, or activity.
As smart light automation becomes more advanced, focus on simple group names and clear automations. This will keep your system easy to use as you add more devices and mix products from different manufacturers.
Conclusion: The Benefits of Grouping Smart Lights
Grouping smart lights makes controlling your lights easy and consistent. You can turn on a whole room with one button or a voice command. This way, you can also create scenes that look the same, whether you’re on the couch or using an app.
Grouping also makes scheduling and automation simpler. When all your devices work together, you can set up reliable automations. This includes using Lutron Caséta switches, TP‑Link Kasa plugs, and more. You can use apps or Home Assistant helpers to control them all with one point.
If you like using voice commands, you can set up groups in Google Home. For more privacy and reliability, consider using a hub like Hubitat or Home Assistant. Or, use RF remotes for local control. Make sure your devices are named clearly and your apps are updated for smooth voice and automation control.
Now that you know how to group smart lights, try it out in your living room. Use a single button, a voice command, and a timed automation. You’ll see how convenient smart light automation can be.