Indoor cameras are becoming a key part of home security. They let you keep an eye on your kids, pets, and property from anywhere. A good home security system should have at least one camera for inside and outside.
Installing cameras can be a worry, as it might damage your walls. Drilling holes is a big concern for renters or homeowners who don’t want to fix walls. That’s why finding ways to mount cameras without harming walls is important.
There are many ways to mount cameras without drilling. You can use removable adhesive strips, suction cups, or small hooks that leave tiny holes. You can also just put the camera on a shelf or table. These options are flexible and protect your walls.
This article will help you with camera placement, choosing the right one, and tools. You’ll learn about different mounting options like adhesive, magnetic, screw-in, wired, and plug-in shelf mounts. You’ll get a step-by-step guide, tips on managing cables, testing steps, and maintenance advice to keep your system working well.
By the end, you’ll know how to mount smart cameras safely for indoor monitoring. You’ll decide if DIY mounting is for you or if you need professional help for extra peace of mind.
Importance of Proper Camera Placement

Where you place your camera is key. It can record useful footage or just random angles. Place cameras at entry points, hallways, staircases, and rooms with valuable items. This way, you can see faces and actions clearly.
Good placement also cuts down on blind spots. It makes responding to alerts faster.
For indoor cameras, aim for a height of 8–10 feet. This captures faces well but keeps the camera out of reach. Mounting too high or too low can be a problem. You need to find a balance between seeing what’s happening and keeping the camera safe.
Before you start mounting, think about the camera’s field of view. Sketch a floor plan and mark where each camera will go. Use tools from Nest, Ring, or Eufy to check the angles. This helps avoid wasting storage space and prevents cameras from capturing the same thing.
Focus on the weak spots first. This includes outside doors, ground-floor windows, main entry points, and busy areas. Visible cameras can scare off intruders. So, make some mounts obvious and others less noticeable for better coverage. Choose mounting solutions that are hard to tamper with if you need extra security.
- Map coverage zones before installing to avoid gaps.
- Choose the best way to mount smart cameras that meets height and visibility needs.
- Use mounting techniques for smart cameras that limit easy removal and protect wiring.
There are trade-offs to consider. Visible cameras might scare off intruders but could also attract tampering if not secure. Invest in secure mounting solutions for smart cameras if you want both deterrence and resilience. With the right plan, your camera network will capture clear evidence and make your home safer.
Choosing the Right Camera

When picking a model, match the camera type to your planned mounting smart cameras approach. Plug-in indoor cams like Blink Mini work well on shelves or screw-in bases. Battery-powered options such as Ring Stick Up Cam or Nest Cam give you flexible placement without running wires.
Consider PoE or hardwired cameras if you want a permanent setup. These need proper wiring and may require junction boxes during smart camera installation, but they deliver steady power and higher uptime.
Check camera compatibility with mounts before you buy. Some brands include screw-in bases, magnetic mounts used by Google Nest, and adhesive pads from 3M. Choose cameras whose base fits the surface and mounting method you plan to use.
- Weight and durability: heavier indoor or outdoor-rated cameras need metal mounts for long-term strength and tamper resistance.
- Features that affect mounting: pan/tilt reduces precision needed for placement; magnetic bases let you remove a camera for cleaning or repositioning.
- Power tradeoffs: battery models grant placement freedom; plug-in or wired cams avoid battery upkeep but need an outlet or electrical work nearby.
Look for vendor accessories and optional mounts from manufacturers like Arlo, Nest, and Ring. These often include magnetic plates, charging stands, or wall brackets that simplify camera compatibility with mounts and speed up smart camera installation.
Match your mounting method to the camera’s form factor. Small cube or dome cameras hide well on shelves or ceilings. Dome or compact cubes are ideal when you want discreet coverage without large, heavy mounts.
Plan for future changes. If you expect to move cameras, favor magnetic mounts or screw bases with standard threads. That approach makes swapping devices easier when you are mounting smart cameras in new spots.
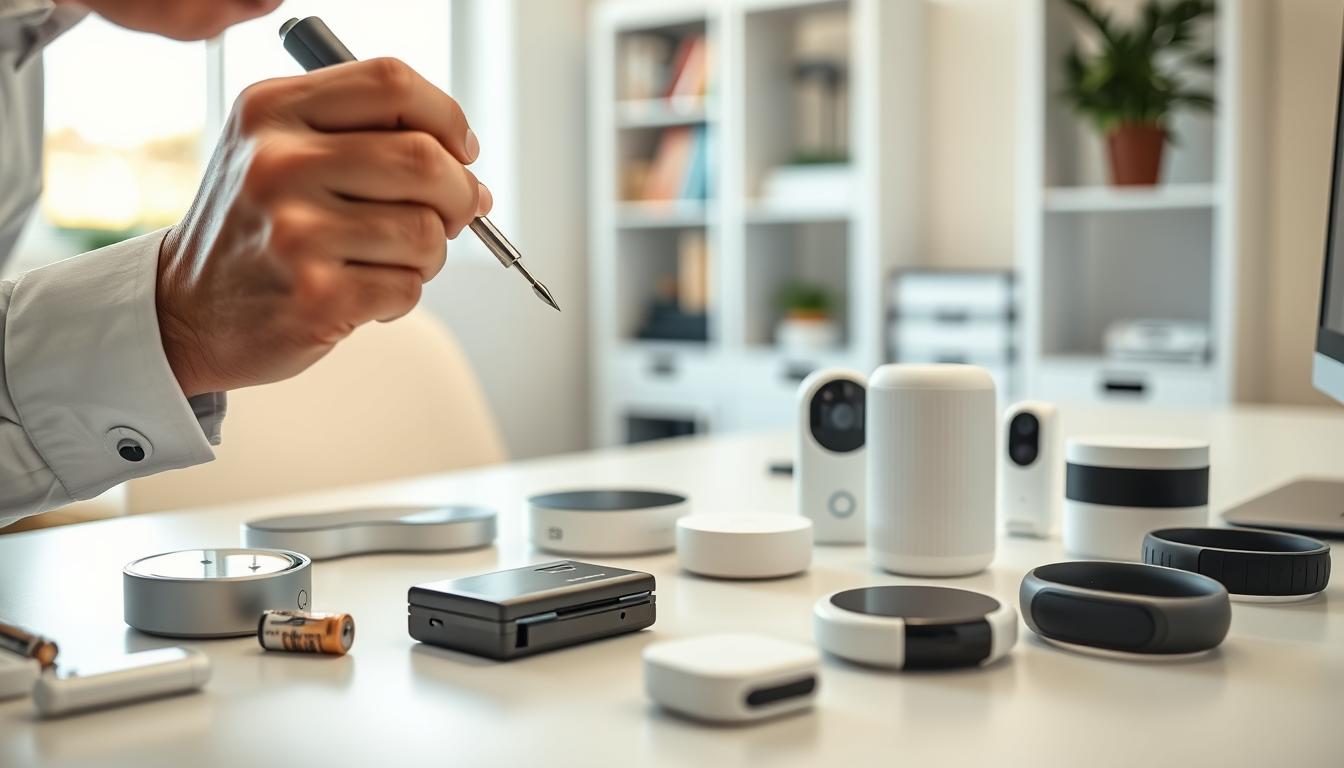
Tools You’ll Need for Installation
Having the right tools makes installing smart cameras easier and safer. First, get a stud finder for screw-in mounts. Also, a level, tape measure, and pencil for accurate marks.
Don’t forget a small screwdriver set and a drill with the right bits for your wall. Isopropyl alcohol is good for cleaning surfaces before mounting. Always use a ladder or step stool for high places and wear safety glasses and gloves when drilling.
For keeping cables neat, bring wire clips or a cable raceway. Wired setups need a junction box, wire strippers, and electrical connectors. You’ll also need mounting screws or anchors that fit your wall. If your camera uses Power over Ethernet, remember a PoE injector or switch.
- Stud finder
- Level and tape measure
- Pencil and small screwdriver set
- Drill with appropriate bits
- Isopropyl alcohol for adhesive prep
- Ladder or step stool; safety glasses and gloves
- Wire clips or cable raceways
For no-drill options, carry 3M Command strips, suction cup mounts, removable hooks, magnetic plates, or a small corner shelf. These are great for DIY smart camera mounting.
When you choose to hire professionals, know what they bring. They might use special anchors for stucco or fiber cement, longer ladders, and conduit for hidden wiring. They also get permits if needed. This helps you see the difference between DIY and professional installation.
Selecting the Best Mounting Location
Start by thinking about what you want to see. Corners offer a wide view. Doorways and hallways are great for tracking entry and exit. High shelves or mantelpieces are good for plug-in models if you can reach an outlet.
Consider the surface type before choosing a mounting method. Adhesive mounts work best on smooth surfaces like metal or glass. But textured surfaces like stucco or concrete might need screw-in hardware or other anchors.
Make sure the camera isn’t pointed at mirrors or large windows. Reflections and backlighting can mess up your footage. Choose angles that light subjects from the front and avoid glare from bright backgrounds.
Think about power and network access when installing indoor cameras. Plug-in cameras need outlets nearby. Battery models need charging or solar power if used outside. PoE and wired models need clear paths for network and power cables.
Try to blend cameras into the room for a discreet look. Use shelves, wall sconces, clocks, or planters to hide mounts while keeping views clear. This balance keeps your space both functional and stylish.
Mount cameras high, about 8–10 feet up, to prevent tampering. This height is safe for you to reach with a ladder. Make sure you can clean and swap batteries without risking your safety.
- Field of view: corners and hallways maximize coverage.
- Surface match: choose adhesive or screw mounts based on material.
- Lighting: avoid backlight and reflections.
- Power/connectivity: match location to outlet or cabling options.
- Aesthetics: hide mounts with decor while keeping sightlines clear.
- Safety: mount high enough to prevent tampering but reachable for maintenance.
Choosing the right spot and mounting techniques makes installation easier. Good location choices reduce rewiring, improve video quality, and keep your setup neat and secure.
Types of Mounting Options Available
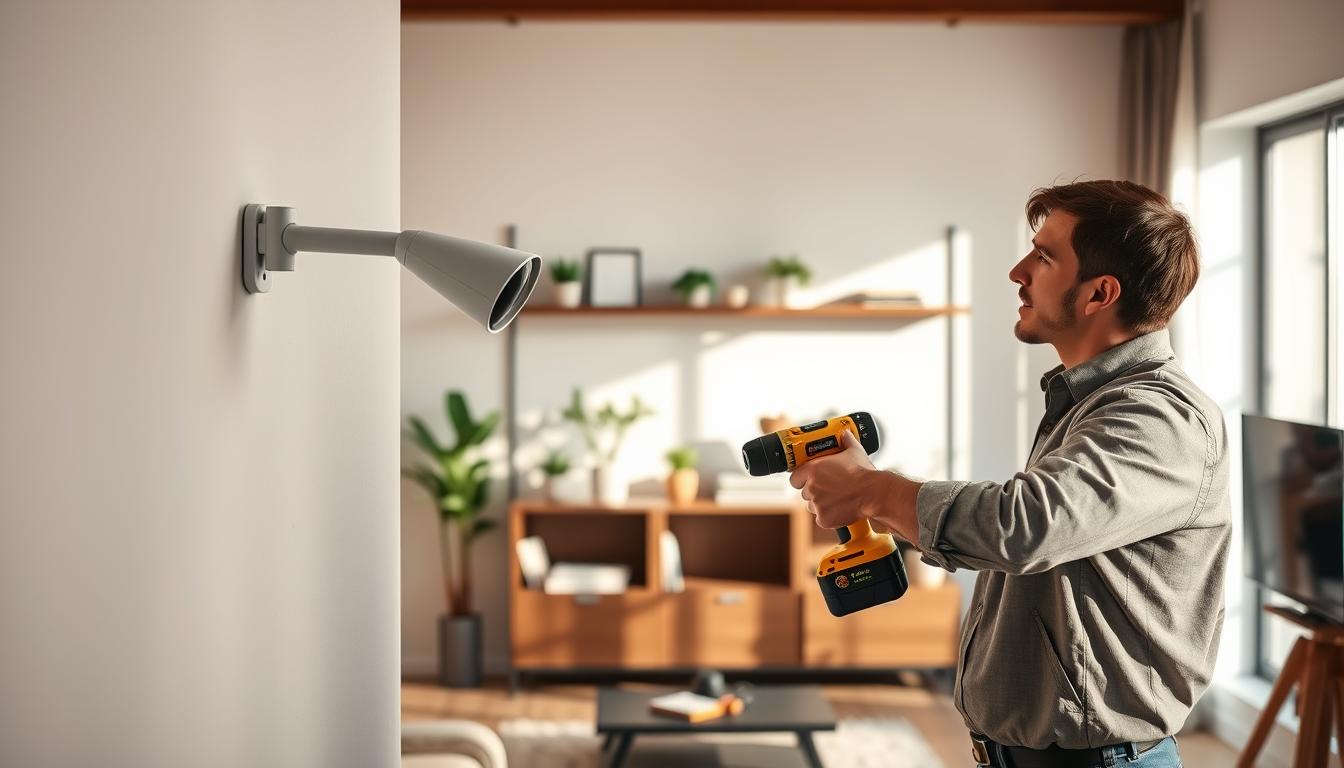
When choosing a mount for your smart camera, you have many options. Screw-in wall bases offer a strong, permanent hold for both indoor and outdoor cameras. Make sure to use the right anchors for your wall type to avoid any issues.
These bases are great for outdoor use if you pair them with screws that won’t rust. But, remember that some walls like fiber cement or stucco might need special fasteners.
Screw-in bases with magnetic mounts are another good choice. They combine strength with the ability to detach and reposition easily. Brands like Nest, Arlo, and TP-Link Tapo use this design on some of their models. This mount allows for easy adjustments but check it regularly to ensure it’s secure.
Wired-in mounts are perfect for devices that need to be hardwired, like floodlight cams and PoE systems. They require some electrical work but offer a reliable power source and connection. This makes them a solid choice for those who value stability.
Plug-in shelf mounts are ideal for indoor use. They allow you to place devices like the Blink Mini on a shelf or table near an outlet. This option is great for renters or anyone who wants a quick setup without drilling.
Wireless shelf mounts and battery cameras offer flexibility in placement. Many come with charging stands for easy recharging. These are perfect for temporary monitoring or when you need to move cameras around.
Adhesive sticker mounts use strong 3M pads for smooth surfaces like metal and glass. They’re good for light indoor cameras but not for textured or porous walls. Avoid using them for heavier units or outdoor use where weather is a concern.
Light bulb socket mounts let you screw a camera into an existing socket. This is a good option for some entryways and hallways. Just be aware that the viewing angles and image quality might vary, so test it first.
DIY hacks and disguises can help you blend cameras into your decor. You can use corner shelves, plant pots, or even converted tripods to hide your camera. These options are great for non-invasive indoor installations where you don’t want to drill.
For outdoor use, consider eave mounts, pole mounts, or weatherproof planters. Choose mounts made from stainless steel or powder-coated metal for durability. These mounts can withstand harsh weather conditions.
When choosing a mount, consider the weight and power needs of your camera, as well as the surface type. Mix permanent mounts for long-term surveillance with portable mounts for temporary needs. This balance ensures your system is both reliable and discreet.
Preparing Your Wall for Mounting
First, plan how you will prepare the surface. Look for any rough spots, paint peeling, or dust. A clean area is key for a strong bond and stable mounts.
For adhesive mounts, clean the area with isopropyl alcohol. This removes oils and dirt. Make sure the surface can handle adhesives, like metal, glass, or finished wood. Always follow the manufacturer’s advice on temperature, bonding time, and weight limits.
For screw-in mounts, find studs with a stud finder for the best hold. If studs are not there, pick the right anchors for drywall. Use masonry anchors for brick or concrete and special fasteners for stucco or fiber cement. Mark where you will drill before starting.
Before drilling, check for hidden wires or plumbing. Use a multi-sensor detector to avoid accidents. If you’re near live wiring, turn off the power at the breaker and check that the circuits are dead.
Magnetic mounts need a strong base. Secure the mounting plate with screws or the adhesive provided by the camera maker. Clean, flat metal plates ensure the best magnetic hold and prevent wobble.
For wired setups, plan where to place the junction box and wiring access. Route cables through walls or conduit for a neat look. If you rent or lack electrical skills, you might need to patch drywall or get professional help.
If you rent, consider using shelf placement, removable hooks, or adhesive strips for pictures. Clamp-style brackets and tension mounts are great for avoiding wall holes while securing your cameras.
- Clean and dry the surface for adhesive mounts.
- Find studs or pick proper anchors for screws.
- Confirm no wires or pipes before drilling.
- Secure metal plates for magnetic attachments.
- Turn off power and plan wiring for hidden cables.
Step-by-Step Guide to Mounting Cameras
First, plan your camera setup. Choose from adhesive, magnetic, shelf, screw-in, or wired/PoE mounts. Pick the right one based on your camera, power needs, and wall type. This makes the installation process smoother.
For adhesive mounts, clean the wall with isopropyl alcohol and let it dry. Make sure the mount can hold the camera’s weight. Use 3M Command strips if needed. Press the mount firmly for the recommended time before attaching the camera. Check the view angle and test it before finalizing the placement.
Magnetic mounts are great for battery cameras. If screwing the magnetic plate to the wall, find a stud or use proper anchors. Attach the plate or small hook, then mount the camera. Make sure the camera moves smoothly and tighten if it shifts.
Shelf or table mounts are easy and reversible. Choose a stable spot near an outlet for plug-in models. For battery cameras, pick a shelf for the best view. Use cable clips to keep power cords tidy and safe.
Screw-in mounts start with marking holes on the wall. Drill pilot holes for your screws and anchors. Fasten the base, attach the camera, and adjust the angle. Tighten everything to secure the camera.
For wired or PoE setups, turn off power near electrical wiring. Install a junction box or reuse a light fixture box. Run the cable to the camera, follow the manufacturer’s instructions, and connect it. Secure the mount and check for power and network.
Always follow safety rules. Use a stable ladder and have someone help for high spots. Wear protective eyewear when drilling or driving anchors. Keep tools and screws in a tray to avoid drops.
After mounting, adjust the camera’s angle and tighten the mount. For magnetic bases, check stability after 24–48 hours. Add strips or screws if it moves. This hands-on method ensures a reliable setup.
Use a checklist for mounting cameras: planned location, correct mount type, clean surface, secure fastening, cable management, and safety. Following this checklist helps you mount cameras neatly and securely.
Tips for Avoiding Wall Damage
Begin with easy, non-invasive methods to mount smart cameras without harming walls. Use 3M Command removable adhesive strips that can hold your camera’s weight. Make sure to follow the package instructions for the right surface and weight limits to avoid any damage.
Opt for a shelf or tabletop when you can. This way, you can place your Wyze, Ring, or Arlo camera without making holes. It also makes it easier to move the camera if you need to.
- Use small removable hooks if you must attach to a wall. They make smaller holes than traditional anchors.
- Think about magnetic mounts with a small metal plate. Attach it with non-permanent adhesive or screws into the trim, not the drywall.
If you must drill, choose the right anchors and screws for your wall type. Place holes in spots that are easy to repair. For tougher materials like masonry, use the right anchors to avoid damage.
Renters should always check their lease or ask their landlord before making holes. Take photos of the wall before starting to prove its condition. If you’re unsure, choose methods that don’t harm the wall to protect your deposit.
For small holes, use lightweight spackle and sand it lightly. Match the paint to cover the area well. Keep repair kits ready to fix holes quickly after removing the mounts.
If your walls are complex or you’re dealing with hard materials, consider hiring a pro. They know how to mount cameras securely without causing damage. This way, you avoid costly mistakes and ensure your cameras are installed right.
When choosing a mount, think about both looks and function. There are non-permanent, neat, and safe ways to mount your smart cameras. Just plan and pick the right method for your walls.
Managing Cables and Wires
Mounting indoor cameras makes your home safer and looks better. For plug-in cameras, use cable clips or cord channels to hide cords. Run them along baseboards and corners to the nearest outlet.
Battery and wireless cameras need charging sometimes. Set a visible charging schedule to avoid downtime. This keeps them working well.
For PoE or hardwired units, hide cables in walls or attic spaces. Use conduits for a clean look. If you want hidden wiring, hire a licensed electrician.
Outdoor cables need special care. Use outdoor-rated conduit and connectors to keep them safe. Seal cable entries with silicone to keep moisture out.
- Avoid cables across paths or door frames. Use covers if needed.
- Use clips every 12–18 inches to keep cables secure. Don’t bend Ethernet cables too much.
- Label cables at both ends for easy troubleshooting. Coil extra length neatly.
Renters can use removable raceways or adhesive channels. These don’t harm paint and support smart camera management.
Plan your layout before drilling. Good cable management saves time and keeps cameras reliable. Choose mounts that hide or route cables for a neat look.
Testing Camera Functionality
First, check the power and network. Make sure the camera is on and the Wi-Fi is strong. If the signal is weak, move the camera closer to your router or use a Wi-Fi extender.
Then, test the camera’s view and quality. Look at entry points and the path you want to cover. Ensure faces are clear at the distances you expect. Adjust the camera’s height and tilt to avoid backlighting.
Next, test the motion detection zones and sensitivity. This helps avoid false alerts. Make sure each camera covers a unique area. Adjust the zone shapes as needed.
For areas with little light, check the night vision. Watch clips in dim conditions to see if they’re clear enough for identification.
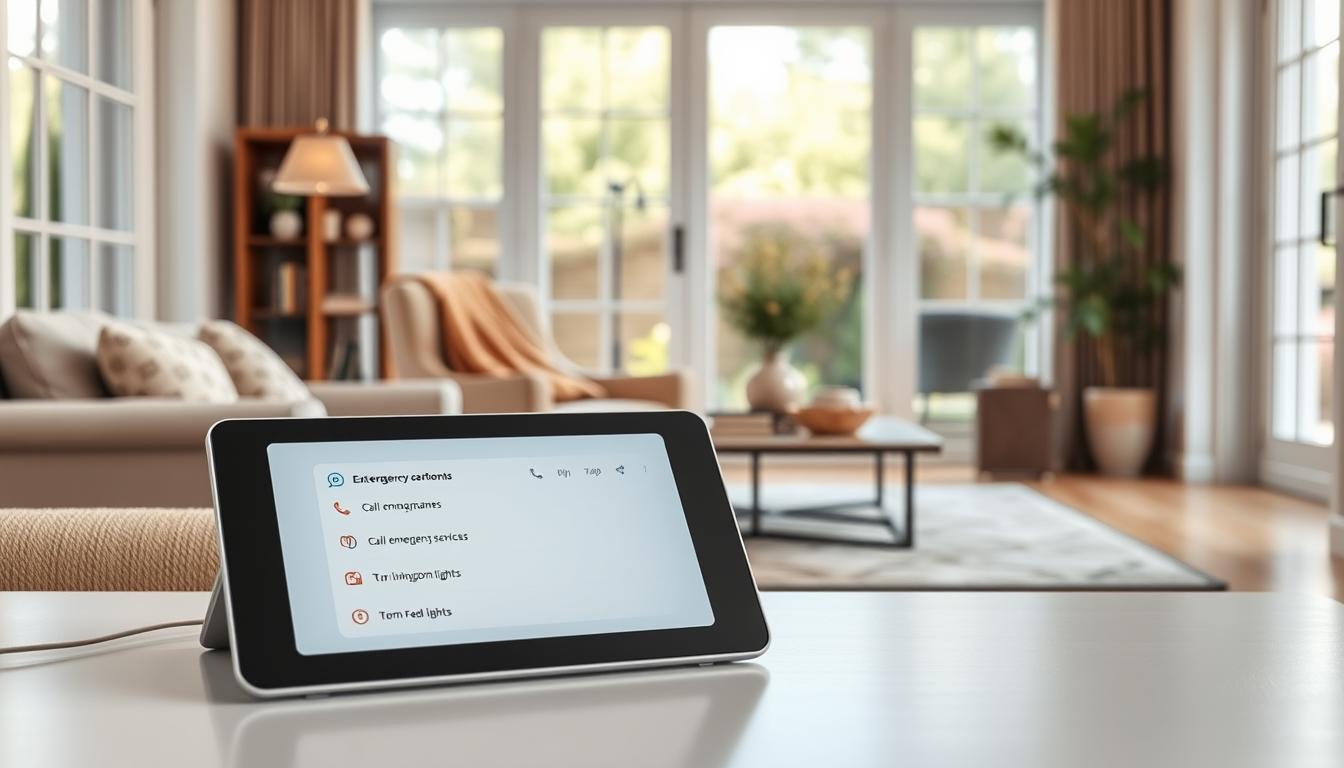
- Confirm recording: check cloud or local storage is saving clips.
- Verify alerts: ensure push notifications and email alerts arrive on your phone.
- Run a live walk‑through to trigger events and view response times.
If you used a magnetic mount, shake the camera after installation and again in 24–48 hours. This checks its stability. For adhesive mounts, check the adhesion often and replace strips as needed.
Keep a record of the camera’s angles, sensitivity settings, and Wi-Fi strength. Save screenshots or short videos of the view. Store them with your installation notes. This helps with future troubleshooting and makes testing easier if you need to move or replace a camera.
Regular Maintenance After Installation
Make a simple plan for keeping your smart cameras in top shape. Use a soft cloth to clean the lenses and keep images clear. Also, check the mounts and fasteners for any looseness. If you used removable mounts, make sure the adhesive is holding strong.
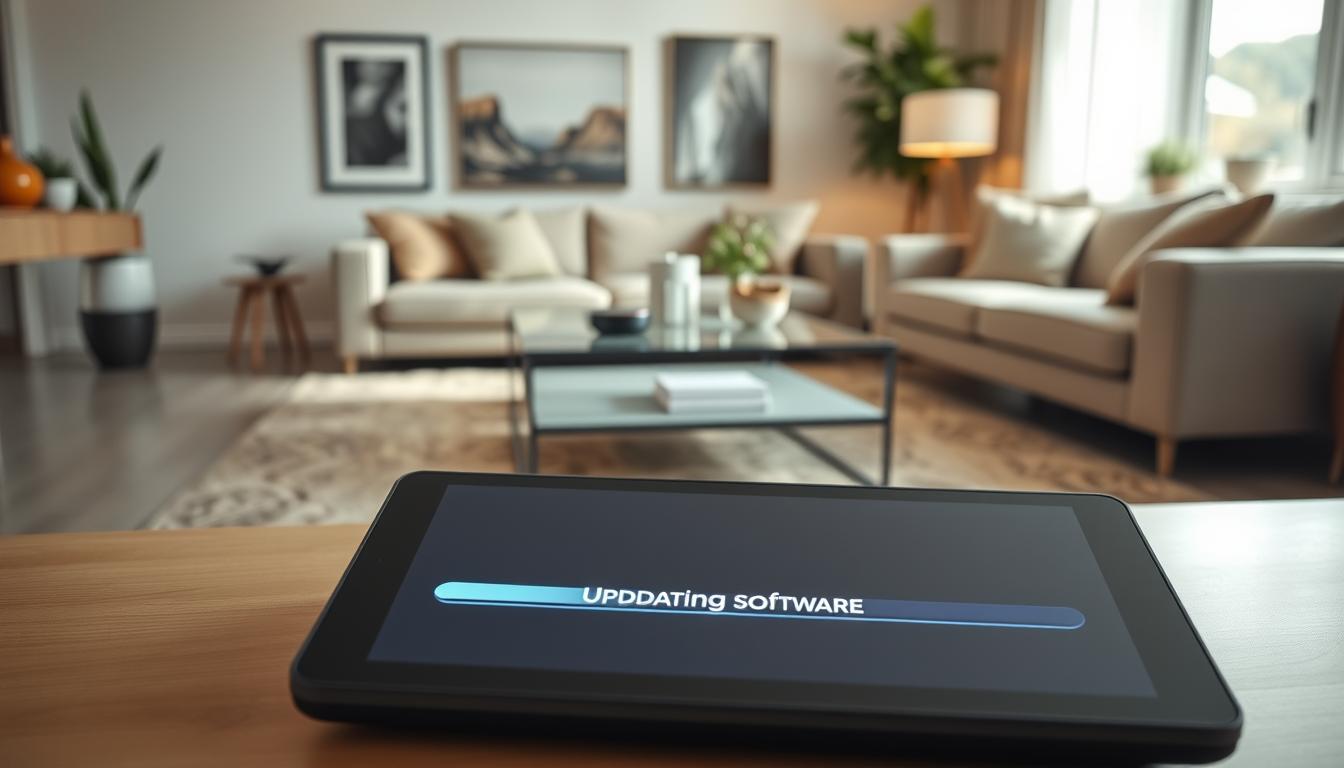
Don’t forget to update your smart camera’s firmware and apps regularly. Brands like Nest, Arlo, Ring, Blink, and Reolink often release updates. These updates can improve security and add new features. Always back up your footage before updating, if you can.
- Keep an eye on the battery levels of battery-powered units. Set a routine for charging or swapping batteries.
- Think about using solar panels for outdoor wireless cameras. This can help reduce the need for frequent charging.
- If you own the property and the mounts are working well, consider replacing worn-out adhesive strips or switching to permanent mounts.
Check your camera’s placement every season. Changes in sunlight, foliage, or furniture can affect how well your cameras work. Adjust the mounts as needed to keep your coverage optimal.
Stay on top of your account security. Use strong, unique passwords and enable two-factor authentication if it’s available. If you’re having trouble with connectivity or image quality, reach out to the manufacturer or get help from a professional.
Conclusion: Enjoy Your Peace of Mind
You now know how to mount smart cameras safely and effectively. Make sure to plan where you place them. Aim for about 8–10 feet for the best view.
Choose the right mount for your needs. Magnetic and screw-in bases are great for adjusting and staying put. Adhesive mounts and shelves are perfect for renters or if you don’t want to make holes.
After you mount, check the camera’s quality and settings. Keep it clean and check the angles often. If you’re handy, you can mount it yourself. But if you need help, consider hiring a pro.
By following these tips, you’ll get great camera coverage without damaging your walls. You’ll also have peace of mind knowing your home is secure.