
Before you start adding to your smart home, pick a main system. Choose Google Home, Amazon Alexa, or Apple HomeKit first. This choice will guide all your purchases and how your voice assistants work.
Google Assistant is great for talking commands and works well with Android and the Google Home app. Amazon Alexa supports the most products and Skills, and Echo devices are often cheaper. Alexa needs the Alexa app on your phone to control it.
Apple HomeKit is pickier but offers smoother operation and better privacy for iPhone, iPad, and Mac users. You need a HomeKit hub like a HomePod mini, Apple TV, or an iPad for remote access.
Remember, big platforms collect your data. Check and manage your voice-recording and privacy settings before choosing a platform.
Every room can get smart, so pick devices that fit your system. Look at smart speakers and displays like Amazon Echo, Google Nest, and Apple HomePod. For lights, try Philips Hue or AiDot Linkind Matter bulbs.
Thermostats like Ecobee Smart Thermostat Premium or the Amazon Smart Thermostat are also good. Smart plugs like TP-Link Kasa, security gear like Arlo Video Doorbell, and kitchen appliances like Tovala Smart Oven or Hamilton Beach smart coffee makers are useful upgrades.
Controllers, wall buttons, and remotes often use Z-Wave or Zigbee. Make sure your controllers match your hub—SmartThings, Hubitat, or Home Assistant. This ensures your scenes work right and you get future support.
Key takeaway: know your current devices, pick one main system, and check for logos like Works with Google Assistant, Works with Alexa, Works with Apple HomeKit, or Matter. This ensures you get the voice and app controls you want.
Understanding Smart Home Ecosystems

You have three main choices: Google Home, Amazon Alexa, and Apple HomeKit. Google Assistant is great for natural talk and works well with Android. Alexa has the most devices and Skills. HomeKit is for Apple users, with strict security and device checks.
Choosing one makes controlling your home easier. It also lets you customize your smart home better.
Some devices work with more than one system. Philips Hue lights and Nest thermostats now support Matter. This makes it easier for different devices to talk to each other.
Open-source and niche systems are important too. Home Assistant offers local control and strong privacy. It’s for those who want advanced smart home features and don’t mind learning more.
Samsung SmartThings and Tuya Smart Life can bridge gaps. They often work with Google or Alexa for voice control.
Choose devices that fit your ecosystem’s strengths. Use Echo and Nest for voice control in living areas. HomePod mini is best for HomeKit users who prefer Apple.
Sonos Era speakers work with Alexa but not Google or Siri. Make sure they fit your setup before upgrading.
Wireless protocols like Zigbee, Z-Wave, and Thread matter too. They affect what you can add to your system. Choose a controller that matches your hub for smooth integration. The right mix of ecosystem and protocol opens up more possibilities for smart home upgrades.
Key Compatibility Factors to Consider

First, look for logos on packaging and product pages. Check for labels like “Works with Google Assistant,” “Works with Alexa,” or “Works with Apple HomeKit.” Some products have vendor marks like “Alexa built‑in” on Sonos Beam. A logo means basic integration, not full feature parity.
Read manufacturer specs and user reviews to confirm the full voice command set before you buy.
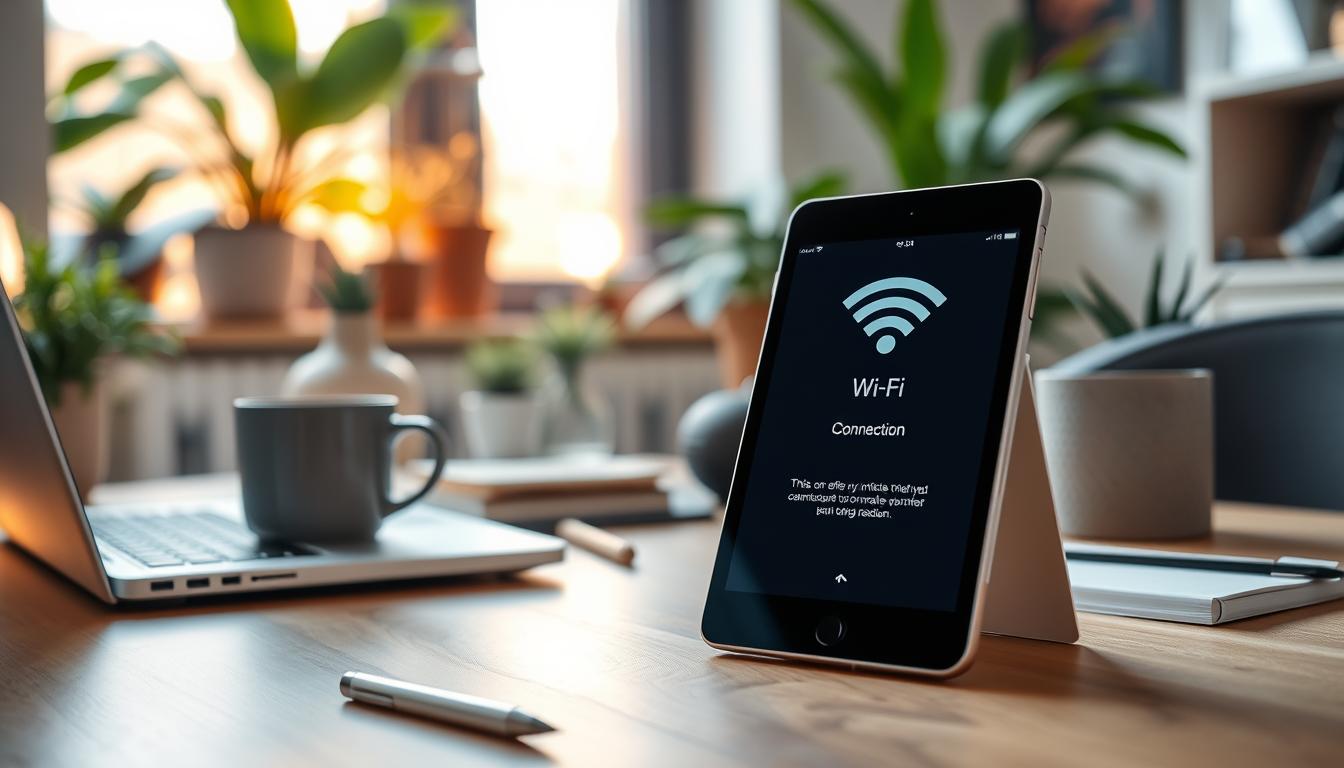
Next, focus on wireless bands and tech. Most smart devices use 2.4 GHz Wi‑Fi, while some newer models support 5 GHz or Wi‑Fi 6E. Bluetooth and Bluetooth LE are good for low‑power accessories with limited range. If a device relies on a hub, that hub may use Zigbee, Z‑Wave, Thread, or proprietary radios.
During setup, make sure your phone and the device are on the same Wi‑Fi band to avoid pairing problems.
Protocol compatibility shapes pairing, range, and mesh strength. Zigbee and Z‑Wave form robust meshes for lights and sensors. Thread is gaining traction with Matter for stable low‑power networking. Confirm that your controller or hub supports the protocol your devices use.
- Ensure hubs like Samsung SmartThings, Hubitat, or Home Assistant list the protocol you need.
- Check whether a hub can act as a bridge for devices using different standards.
Matter support improves long‑term interoperability. Product examples show this trend. The Aqara Camera Hub G5 Pro supports Matter, Thread, and Zigbee. Philips Hue and Nanoleaf have rolled out Matter updates for many light products. AiDot Linkind Matter bulbs operate over Wi‑Fi and join ecosystems more easily.
Prioritize Matter when evaluating connected home solutions to reduce fragmentation.
Think about practical steps for IoT devices installation. Verify ports, power requirements, and whether an Ethernet connection or a separate hub is needed. Test a single device first to refine your wireless home automation process and streamline broader rollouts.
Balance convenience and control when you plan your setup. Some users prefer cloud‑based assistants for quick voice control. Others favor local controllers for privacy and faster automation. Use compatibility checks to match your desired experience with the right mix of devices and hubs.
Prioritizing Device Interoperability
Group your devices by room or zone. Use names like “living room speaker” or “kitchen light 1.” This helps avoid confusion and ensures voice commands work right.
Set up room-based groups in Google Home, Alexa, or Apple HomeKit. This lets one command control many devices. It also makes adding new devices easier without changing automations.
Create routines that do several things at once. For example, a “Good morning” routine can get the weather, open shades, and start the coffee maker. Use geofencing to turn on lights when you arrive or leave.
If your devices don’t work together, use IFTTT to connect them. For example, link Philips Hue lights to Google Home or Alexa. Ecobee thermostats work with voice assistants and remote sensors for better control. TP-Link Kasa plugs support IFTTT, adding simple switches to complex flows.
Choose controllers and hubs that support scene activation and multiple button presses. A controller with at least three action types per button lets you trigger several scenes from one device. This keeps things simple while enabling complex automation.
- Organize devices by room to simplify commands and reduce errors.
- Build routines using triggers like schedules, geofencing, and sensor events.
- Use IFTTT to link services when native integration is missing.
- Choose controllers with multi-action buttons to expand control without extra hardware.
Following these tips makes adding devices to your smart home easier. Good planning now saves you trouble later. It supports smooth smart home automation and connected home solutions.
Future‑Proofing Your Smart Home
Standards change quickly. Zigbee and Z‑Wave are common in sensors and locks. Bluetooth LE is for low‑power gadgets. Thread is newer and is used by Apple, Google, and Nanoleaf.
For most homeowners, what matters most is if devices work with big ecosystems. This makes choosing easier.
Matter aims to connect different ecosystems. It’s backed by big names like Google, Amazon, and Apple. Matter makes setup secure, reliable, and simple.
Expect devices to work together, like a Google Nest Hub showing a Ring doorbell feed. Many new devices support Matter. Brands like Philips Hue and Nanoleaf will update their products.
Keep an eye on device trends before buying. You can find more Wi‑Fi Matter‑compatible bulbs and accessories. The Aqara Camera Hub G5 Pro supports Matter, Thread, and Zigbee.
It shows how multi‑protocol hubs solve compatibility gaps. Wi‑Fi 6E and the upcoming Wi‑Fi 7 improve capacity and security. But, they need compatible routers and devices and offer shorter range.
Choose gear that ages well. Buy devices from brands known for updates. Pick hubs and controllers that get ongoing support to protect your investment.
Plan your network for growth. Use routers or mesh systems that handle many devices. Offer an IoT guest network or separate SSIDs. This reduces congestion and makes expanding your smart home network easier.
Think about long‑term flexibility when upgrading your smart home. Focus on products that support Matter or multiple protocols. This makes expanding your smart home smoother and reduces compatibility issues.
Assessing Device Security Features
When you look at a new device, first check its privacy and security. Devices with microphones and cameras can record and store data in the cloud. Companies like Google, Amazon, and Apple collect data, so read their privacy policies and look for past security issues before buying.
Start with basic security steps when setting up IoT devices. Use strong Wi-Fi passwords and set up a separate network for IoT devices. Also, enable a guest network for visitors and use two-factor authentication when possible.
Limit camera use and use covers for privacy when not in use. You can also turn cameras off with smart plugs. Choose devices that support multi-factor authentication and biometric access.
For HomeKit users, remember you need a hub like HomePod Mini or an iPad. Make sure the hub you choose is compatible before buying to avoid setup problems.
- Pick controllers and hubs from trusted brands with a clear update policy.
- Look for secure pairing methods like QR codes or authenticated BLE, not PINs.
- Check if the maker provides timely updates and changelogs.
Firmware updates keep your devices safe by fixing vulnerabilities. When choosing connected home solutions, look for vendors that update security regularly and offer clear support.
Keep apps and firmware up to date to fix security issues fast. Use network tools and check device permissions often to keep your smart home secure.
Budgeting for Smart Home Expansion
First, make a list of what you really need for your smart home. Decide which areas to upgrade first, like security, lighting, or the thermostat. Choosing a single hub, like an Amazon Echo Show or Google Nest Hub, makes it easier for everyone to control things with their voice.
These hubs help by reducing clutter in your network and making things more stable. Some hubs need power and an Ethernet connection. They might cost more upfront but make connecting different devices easier.
When adding to your smart home, consider different price levels. Start with basics like the Google Nest Mini or Amazon Echo Dot for a low cost. Mid-range options, like the Ecobee thermostat, offer more features. For top-notch automation, look at the Ecovacs Deebot X8 Pro or a Sleep Number 360 i8 Smart Bed.
Think about whether you want a DIY security system or a pro-monitored one. DIY systems like SimpliSafe save money but require you to handle maintenance. ADT and Vivint offer professional monitoring but cost more for setup and service.
Don’t forget about the cost of networking and installation. Big homes or lots of devices might need a new router or mesh Wi-Fi. In areas where guests often visit, smart switches might be better than bulbs.
For cost-effective upgrades, use simple controllers. A 2-button controller is good for basic tasks. A 4-button remote works for multi-room scenes. For more complex setups, choose 8- or 12-button controllers.
Start with a hub or smart speaker, then add devices that fit your system. Focus on upgrades that improve safety and comfort. After your first purchases, review your plan to keep your smart home expansion affordable and useful.
User Reviews and Community Insights
Before you decide on a permanent setup, test where you can place devices. Check if they have power outlet access, Wi‑Fi reach, and are easy to charge. Move devices around for a few days to find any signal drops or blind spots.
Use the same naming system for all devices to avoid confusion. Write down device names for everyone in your home. This makes voice commands work better and saves time when you add more devices.
- Look for review highlights about durability and real‑world use.
- Compare product test results on weather resistance and range.
- Prioritize devices that fit your smart home customization goals.
Reviews help you find devices that are both affordable and reliable. The Aqara Camera Hub G5 Pro is praised for its weather resistance and multi‑protocol hub functions. The Arlo Video Doorbell is known for its wide 180° view.
Ultraloq Bolt fingerprint locks are convenient and work with HomeKit. The Ecobee Smart Thermostat Premium balances temperature using remote sensors. TP‑Link Kasa smart plugs are great for monitoring energy use at a low cost.
Read reviews to learn about real-world experiences. Some devices might have fewer voice commands or need extra setup. Community reports often talk about firmware updates and long-term reliability.
Forums are full of tips on pairing controllers and automating devices. Home Assistant threads, SmartThings boards, and Reddit smart home communities offer detailed help. Users share automations that can speed up your setup and inspire new ideas.
When you plan to grow your smart home, use community feedback to choose the right hubs and bridges. Owners who have expanded their setups share practical advice. They talk about device limits, mesh Wi‑Fi needs, and power management.
Keep a log of what you test and what others recommend. This helps you remember what worked and what didn’t. It also helps you find devices that meet your needs as you expand your smart home.
Installation and Setup Considerations
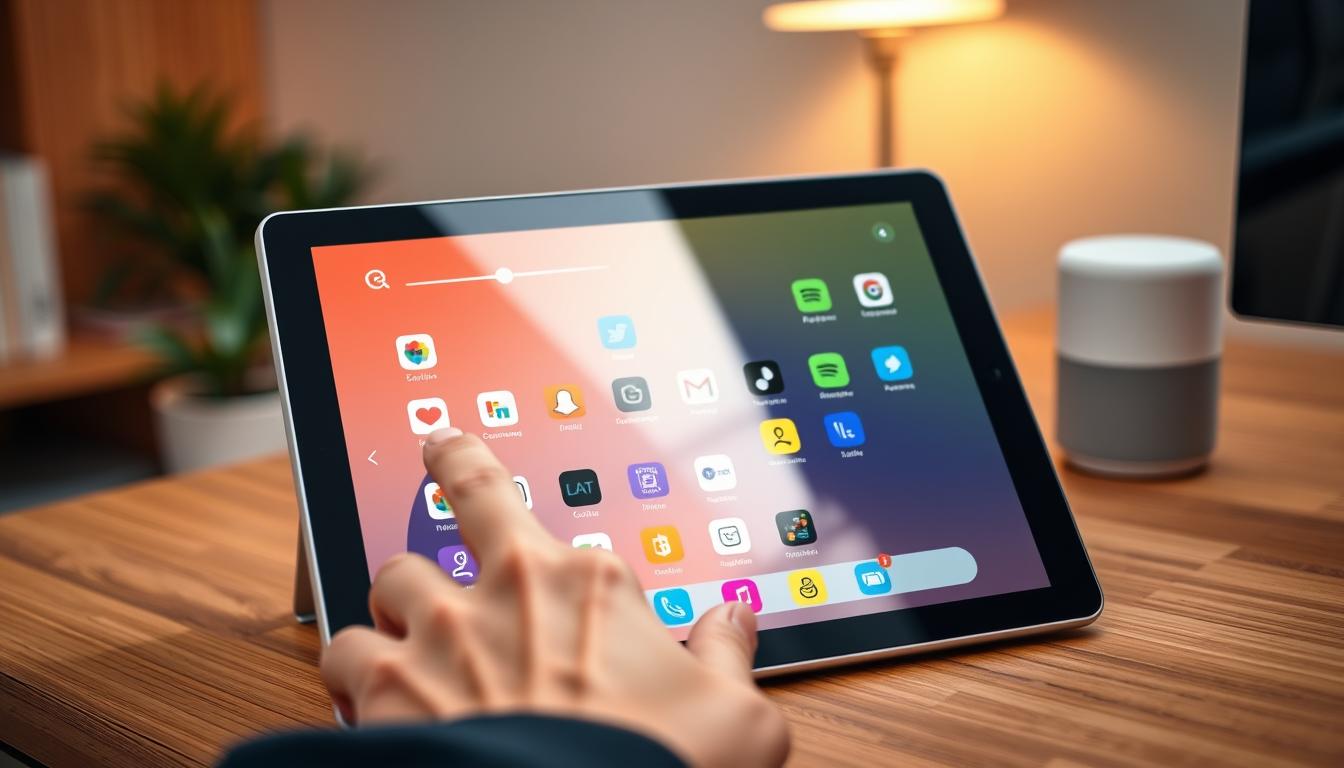
Begin by downloading the app from the product box. Scan the QR code or enter the serial number. Many brands need their app for the first link and for advanced settings.
Ensure your phone is on the same Wi-Fi band as the device, usually 2.4 GHz. Check your router’s capacity and consider a mesh system if coverage is poor. Keep boxes and manuals until setup is complete, as QR codes and serials can be hidden.
If pairing fails, try again. Some devices may need a reset during setup. Place the device near the router or hub for the first connection, then move it to its final spot once it stays connected.
Steps for each product vary. Philips Hue bulbs can often connect directly to Google Home or Apple Home. Matter-capable bulbs like AiDot or Linkind use Matter provisioning for faster connections. For complex items like the Tovala Smart Oven or Ecovacs robot vacuums, follow the manufacturer’s instructions for network and account linking.
- Check controller compatibility before buying. SmartThings, Hubitat, and Home Assistant handle devices differently.
- Pair controllers to hubs in a quiet spot to avoid interference.
- Test automations and scenes in the app before installing them.
Setting up controllers requires attention to scene triggers and button actions. Create scenes for daily routines and test them. Think about mounting options and power choices for controllers and sensors. Wall-mounted switches might need neutral wiring, while remote controllers use replaceable or rechargeable batteries.
For a smooth smart home experience, document your network details and label devices in the app. Confirm firmware updates after setup. This helps avoid future issues and keeps your automation reliable.
Keeping Your Smart Home Updated
Keep your smart home’s firmware and apps up to date. This protects your network and adds new features. Choose devices from brands like Google Nest, Amazon Echo, and Philips Hue for regular updates.
Also, update your router’s firmware and mesh software. This keeps your network running smoothly as you add more devices.
If a device stops working, check if your phone and device are connected to the same network. Try setting it up again if it doesn’t work. Also, check for channel congestion on your router.
Moving a mesh node or changing channels can help. This reduces interference and removes dead zones when you expand your smart home.
Watch how your devices perform and read reviews to find reliability issues early. Use smart plugs like TP-Link Kasa to spot power problems. For cameras and sensors, check logs and alerts often.
Set cloud or local storage based on your privacy needs. This is important for smart home maintenance.
Test your controllers and hubs regularly. Check button actions, battery levels, and automation triggers. If you move or change routers, use the same SSID and password to make setup easier.
Follow vendor guides to remove devices for departing family members. This prevents unauthorized access when you upgrade your smart home.